How to use Cricut for quilting
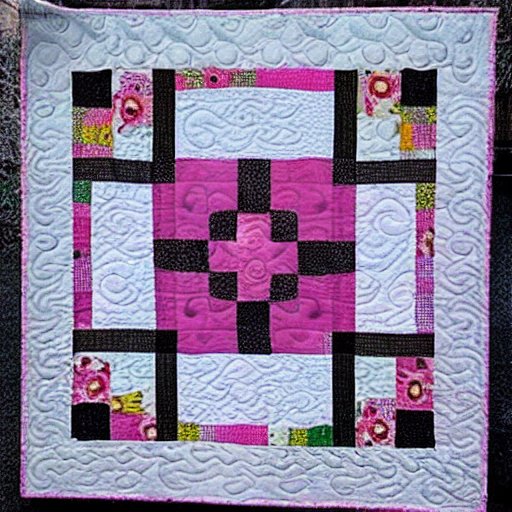
Cricut machines are a popular tool for quilters, as they allow for intricate cuts and designs. If you’re new to using a Cricut machine for quilting, here are some tips to help you get started.
Fabric cutting with a Cricut machine is a precise and easy way to cut fabric for quilting. You can cut multiple layers of fabric at one time, which is a real time saver. Plus, the cuts are always accurate and clean. The key to successful quilting with a Cricut machine is to use the right blade and follow the manufacturer’s guidelines for fabric thickness.
Quilting is a centuries-old craft that has been traditionally done by hand. However, with the advent of modern technology, quilting can now be done with the help of a machine called a Cricut.
If you’re new to quilting, or just new to using a Cricut machine, you may be wondering how to get started. Here are a few tips to help you get the most out
of your Cricut machine when quilting:
- Choose the right Cricut model. There are a few different models of Cricut machines, so make sure to choose one that is best suited for quilting, which is the Cricut Maker that works with the rotary blade.
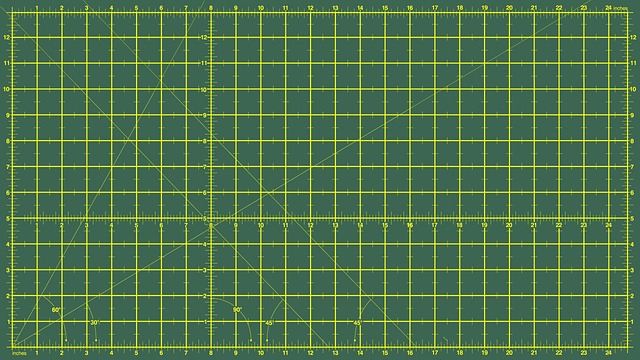
- Choose the right tools. Cricut machines come with a variety of different blades and mats, so it’s important to choose the right ones for the material you’re working with. For quilting, we recommend using the rotary blade and a self-healing pink Fabric cutting mat.
- Pre-cut your fabric. Before you start cutting your fabric with your Cricut, it’s important to pre-cut it into manageable pieces. This will make it easier to work with and will help prevent wasted fabric.
- Get the right materials. In addition to the Cricut machine, you’ll need quilting fabric, batting, and thread.
- Cut your fabric. Once you have all of your materials, you’re ready to start cutting your fabric. The Cricut can cut a variety of different shapes, so experiment to see what you like best.
How to use Cricut for quilting
- To cut fabric for quilting with a Cricut Maker and Cricut Rotary Blade, first gather your materials.
- You will need a cutting mat, rotary blade, and fabric.
- Choose the size and shape of fabric you want to cut, and then position it on the cutting mat.
- Load the cutting mat into the Cricut Maker, and then select the rotary blade from the menu.
- Adjust the blade depth and speed according to the type of material you are cutting.
- When you are ready, press the start button and watch the Cricut Maker cut your fabric.
Best Cricut vinyl for quilters
If you’re looking for the best Cricut vinyl for decorating fabric quilts, then heat transfer vinyl, or HTV vinyl, is the way to go.
This type of vinyl is specifically designed for use with fabric, and it’s easy to cut and apply using a cricut machine and an iron.
Plus, HTV vinyl comes in a wide variety of colors and patterns, so you can find the perfect look for your quilt.
How to decorate your quilts with HTV vinyl
If you’re looking for a way to add some personalization to your quilts, you may want to consider using Cricut vinyl.
This material can be used to create custom designs that can be applied to your quilts.
For example, to add names, initials, or other words to quilts. It can also be used to add images or other designs.
Best of all, Cricut vinyl is easy to use, can be found at most craft stores, and is available in a variety of colors.
How to cut and apply HTV vinyl to your quilts
Cutting HTV vinyl with a Circuit is a quick and easy way to add personalization to your quilting projects. Here’s a step-by-step guide:
- To cut HTV vinyl with a Cricut machine, first load the vinyl onto the cutting mat.
- Make sure the vinyl design is mirrored before cutting.
- Then, select the ” Iron on vinyl ” setting on the Cricut machine.
- Choose the desired size for the vinyl design.
- Finally, cut the vinyl using the Cricut machine.
- Weed the vinyl to remove any excess material.
- To apply the HTV vinyl to fabric, first preheat the fabric.
- Then, position the vinyl on the fabric.
- Place the vinyl onto your fabric, making sure to smooth out any wrinkles.
- Place a piece of parchment paper over the vinyl, then use a hot iron or a heat press to press the design onto the fabric.
- Remove the parchment paper and allow the design to cool.
- Quilt as desired!

